In this article
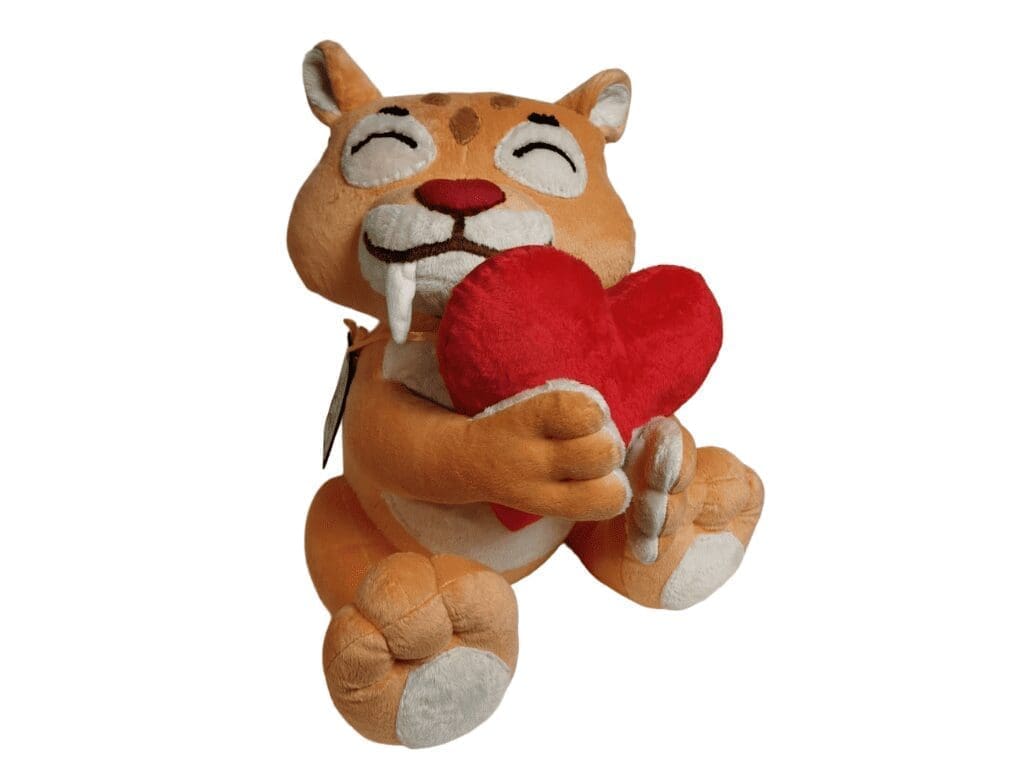
Creating custom plush toys for special occasions is an art that combines creativity with sentimentality. This guide will take you through a step-by-step process to design plushies that are not only unique but also meaningful keepsakes.
Understanding the Recipient

The First Step in Plushie Design
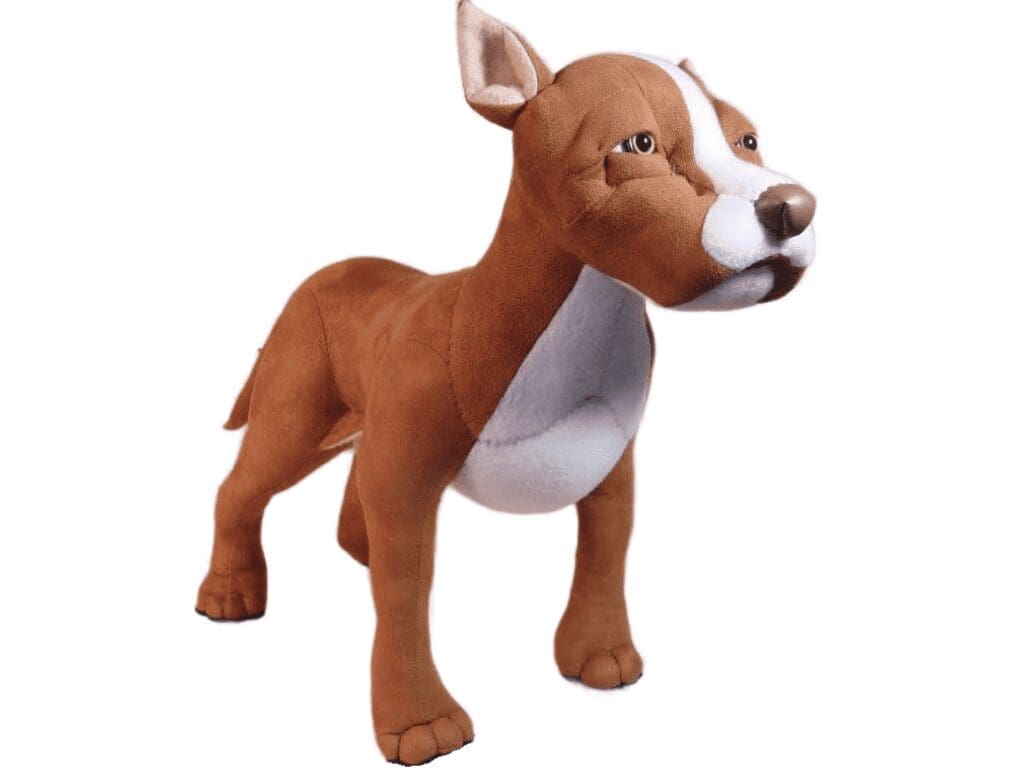
Before you start, consider the recipient’s age, interests, and the occasion. For a child, vibrant colors and soft textures are key, while adults might appreciate a more sophisticated design or a plushie that resembles a cherished pet.
Designing Your Plushie

From Concept to Sketch
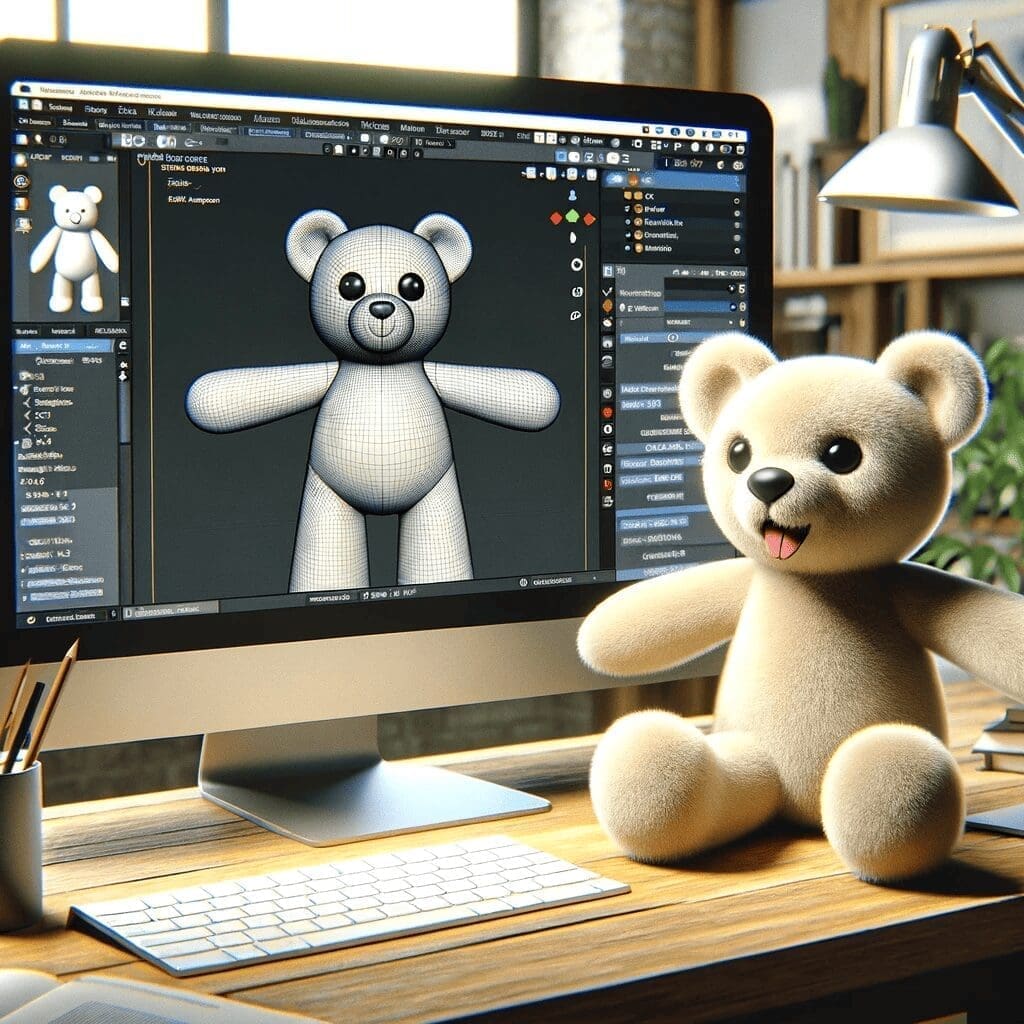
- Sketch It Out: Begin with a simple sketch. This doesn’t need to be a masterpiece; it’s just to get your ideas on paper. Think about size, shape, and features that would make the plushie special.
- Selecting Fabrics: Choose fabrics that are soft and durable. Minky or fleece are great choices for cuddly plushies, while linen or cotton can be used for a more vintage look.
Crafting the Plushie

Tools and Techniques
- Tools of the Trade: You’ll need fabric, stuffing, sewing needles, thread, and possibly buttons or beads for eyes or other features.
- Cutting and Sewing: Cut out your fabric pieces according to your pattern, then sew them together, leaving a gap for stuffing. Turn the plushie right-side out, stuff it, and sew the gap closed.
Customizing Your Creation
")
Adding the Personal Touch
- Embroidery and Applique: Personalize your plushie with embroidery or applique. This could be the recipient’s name, a special date, or a simple heart.
- Accessorize: Add accessories like a tiny hat for a birthday plushie, a bow for an anniversary, or a miniature graduation cap for a graduation gift.
Choosing the Right Colors and Patterns

-
Thematic Colors:
Match the colors to the occasion—pastels for baby showers, vibrant hues for birthdays, or elegant tones for anniversaries.
- Patterns and Textures: Experiment with different fabric patterns and textures to add depth and interest to your plushie.
Advanced Techniques for Experienced Crafters
")
- Jointed Limbs: For a more advanced project, consider adding jointed limbs. This involves sewing separate limb pieces and connecting them with buttons or thread joints.
- LED Elements: Incorporating LED lights can bring a magical touch, especially for plushies designed for children.
Final Checks

Ensuring Quality and Safety
Quality Assurance: Double-check your stitches to ensure they’re secure. This is particularly important for plushies intended for young children.
Safety First: Avoid small, detachable parts for young children’s plushies and ensure all materials are non-toxic and hypoallergenic.
Bonus Tips for a Memorable Gift
")
Incorporate a Voice Box: For an extra special touch, add a voice box that plays a personal message or a favorite tune.
Packaging Matters: Present your plushie in a beautiful box or wrapping paper that complements its design.
This guide offers a comprehensive approach to designing and crafting custom plushies for special occasions. By understanding the recipient, carefully selecting materials, and adding personalized touches, you can create a unique and cherished gift.
Remember, each plushie you create is not just a toy, but a tangible expression of love and thoughtfulness. Whether you’re a seasoned crafter or a beginner, these steps will help you bring your plushie visions to life.

ABOUT THE AUTHOR
Hello! I’m Eliza Grace, a dedicated toy designer with over 5 years of experience in the industry. My passion lies in designing toys that captivate and inspire. Through this blog, I aim to share my knowledge and enthusiasm, helping others explore the wonderful world of toy design.
YOU MAY ALSO LIKE
send us any art or photo and
we turn it into a plush toy
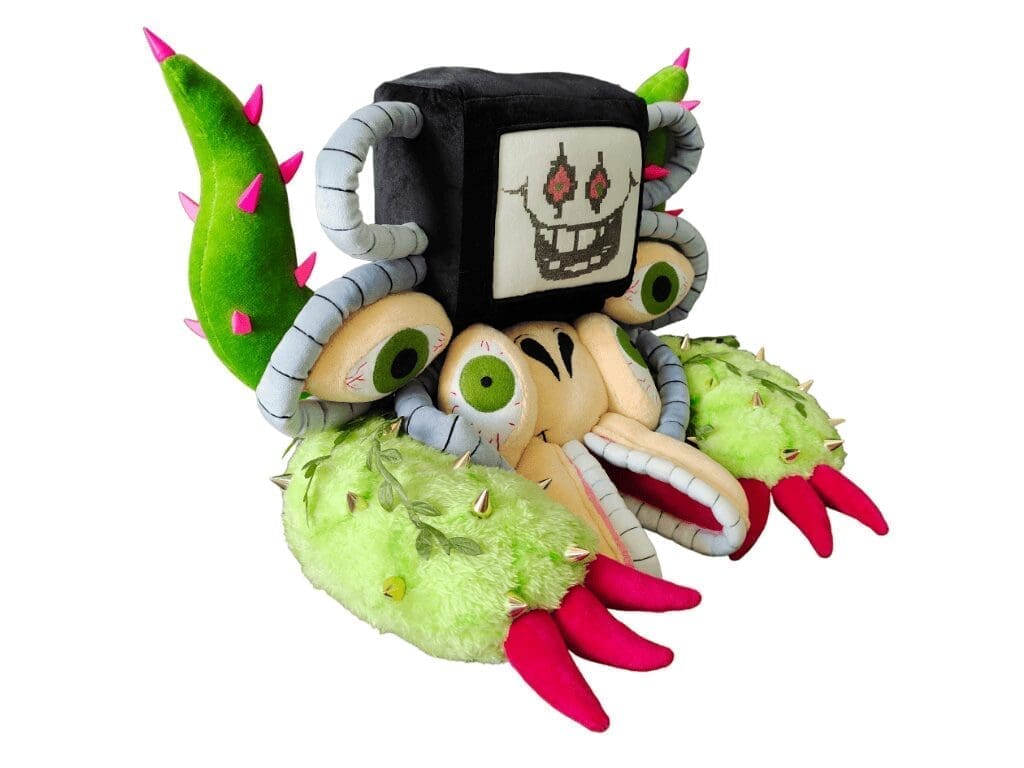
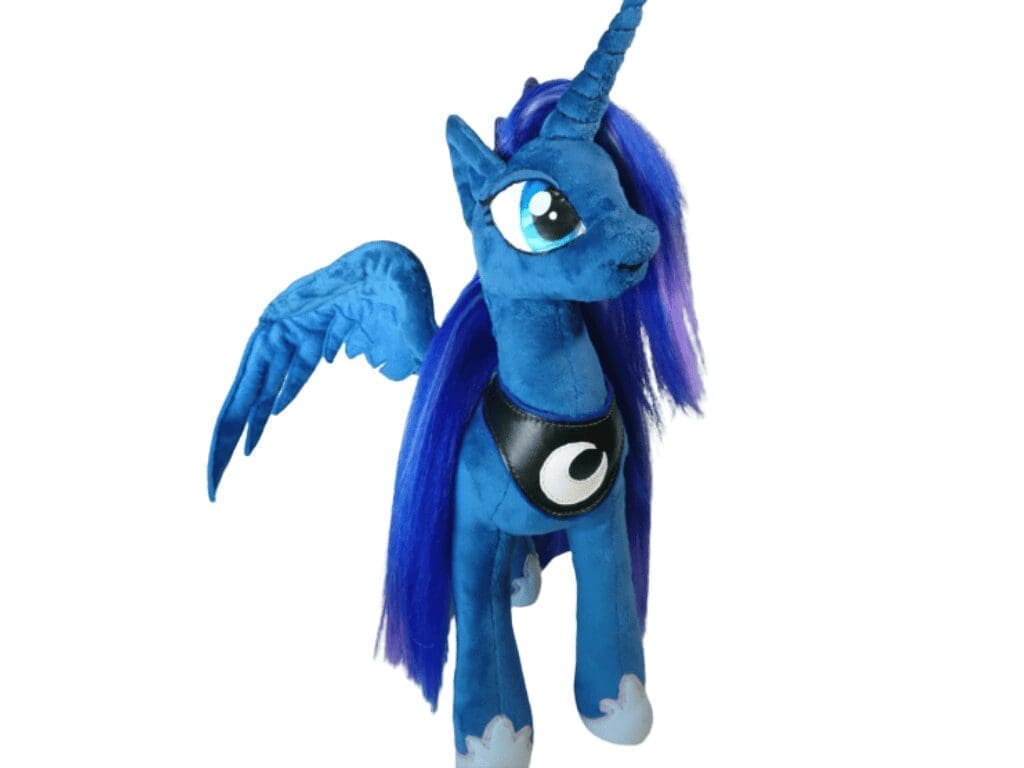
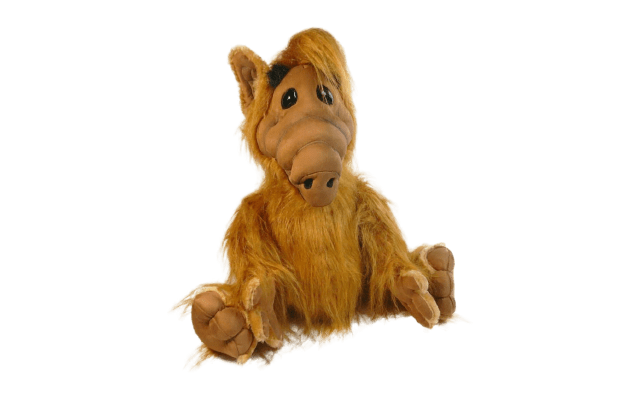
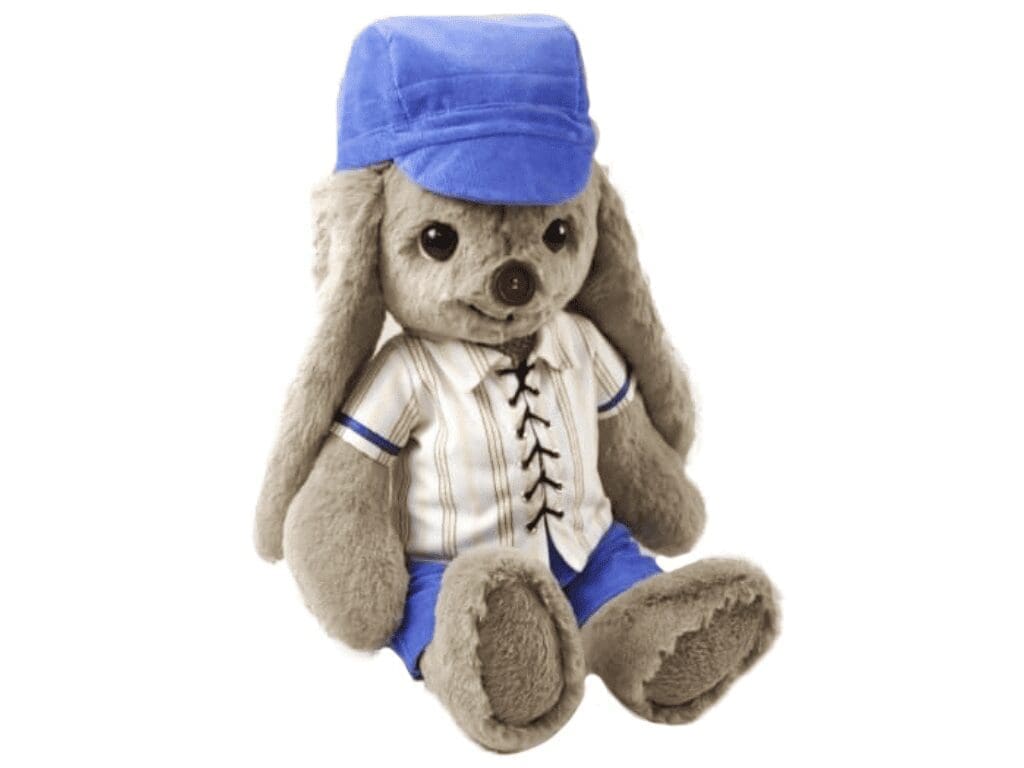
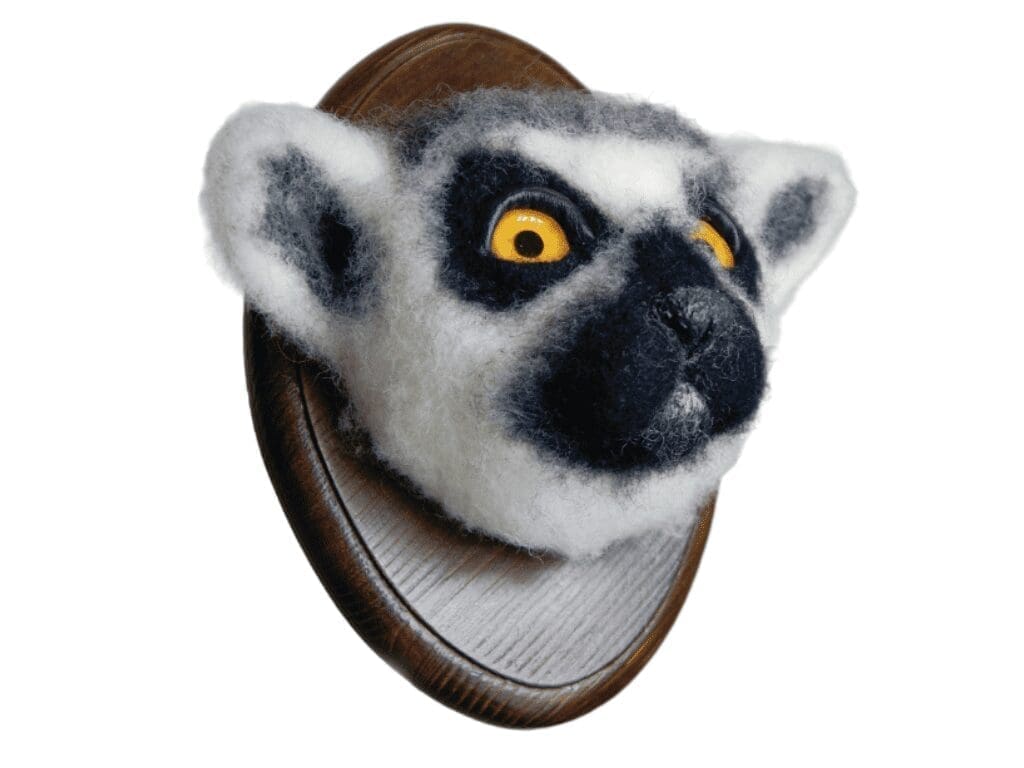
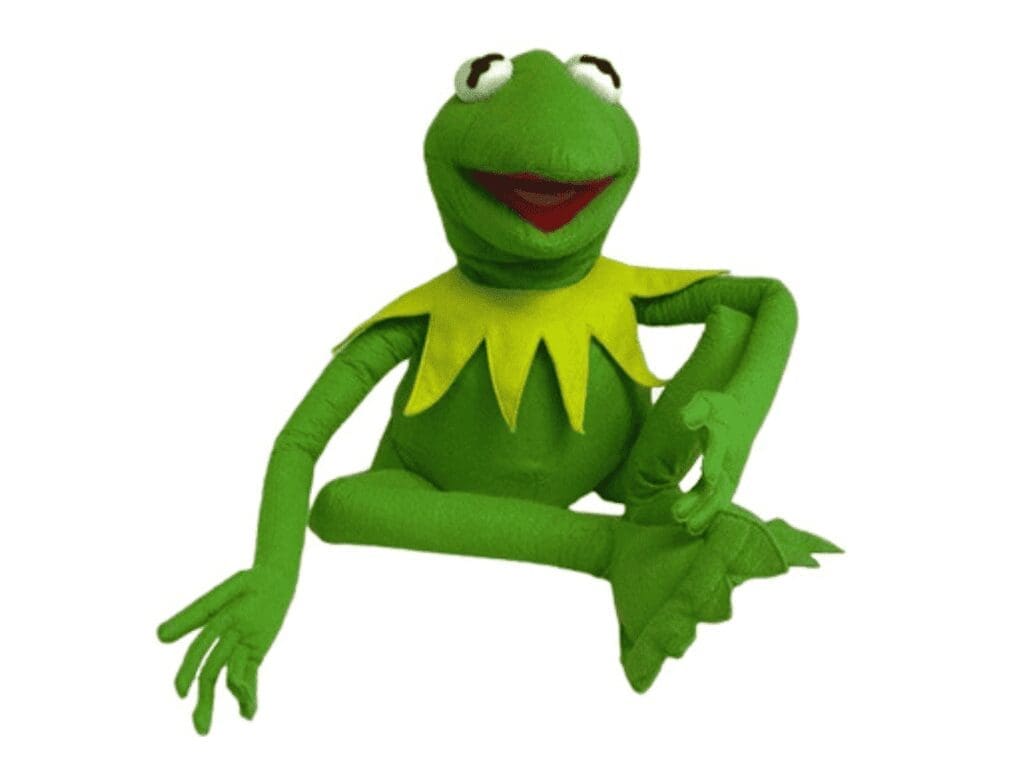
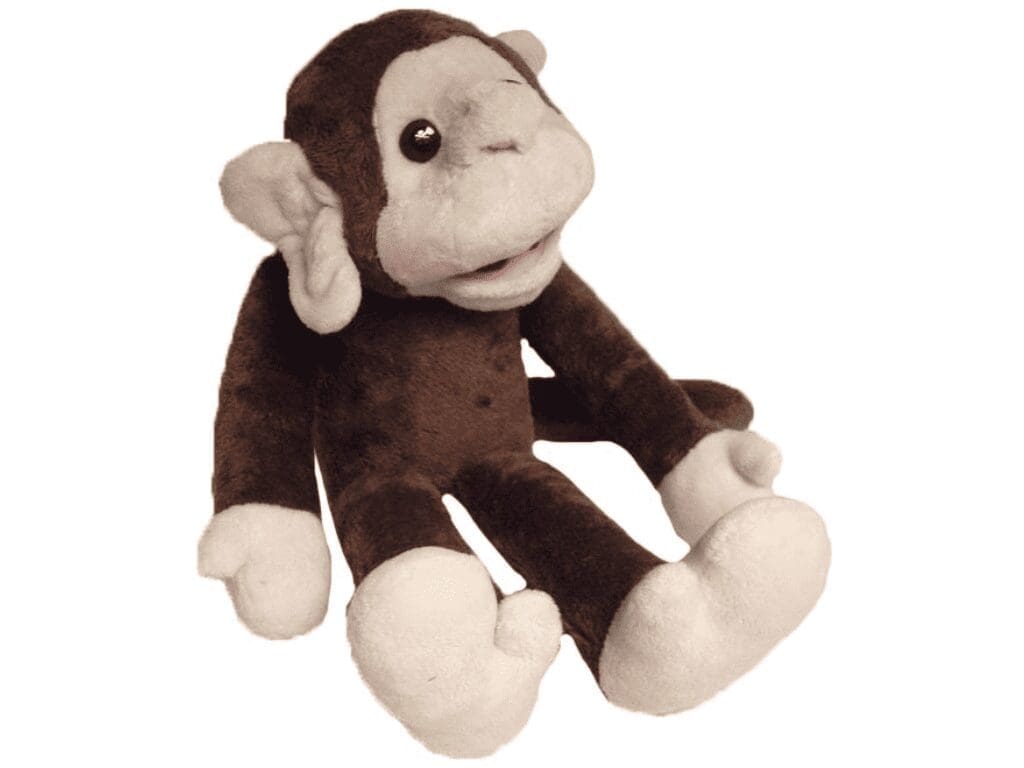
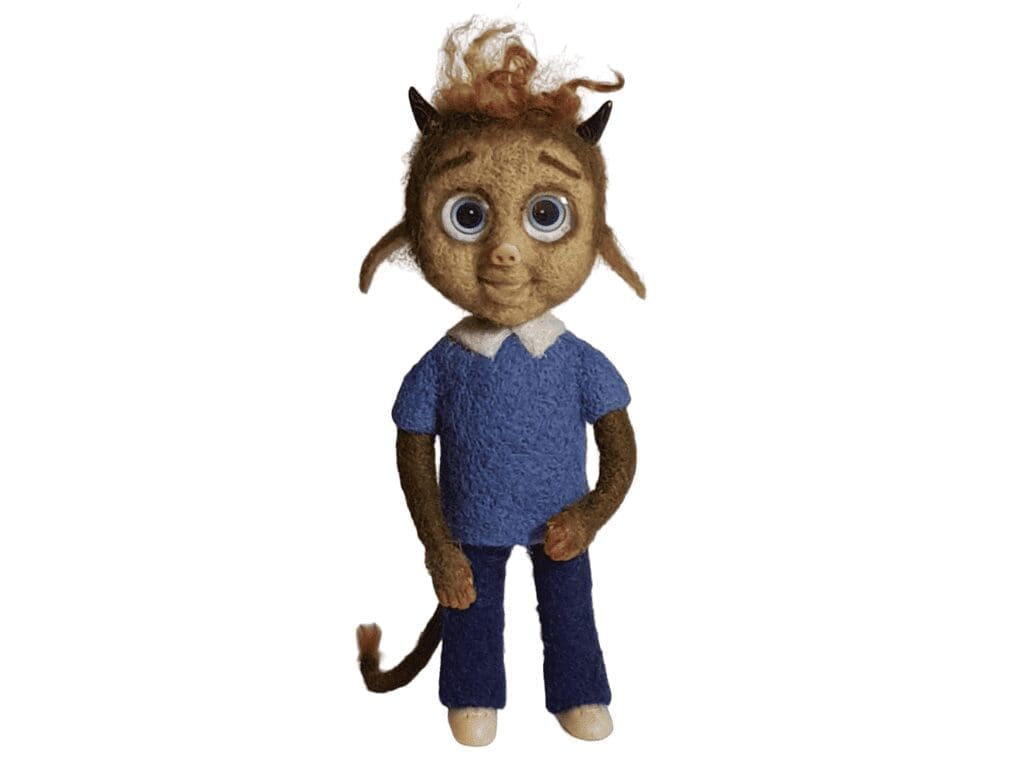
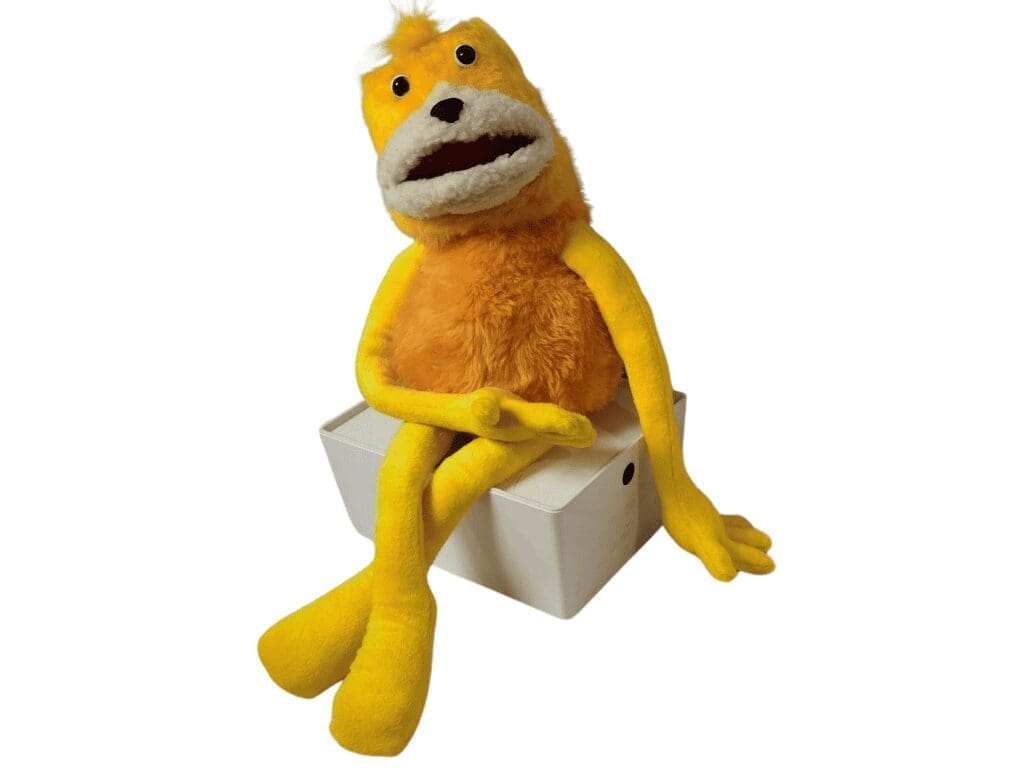
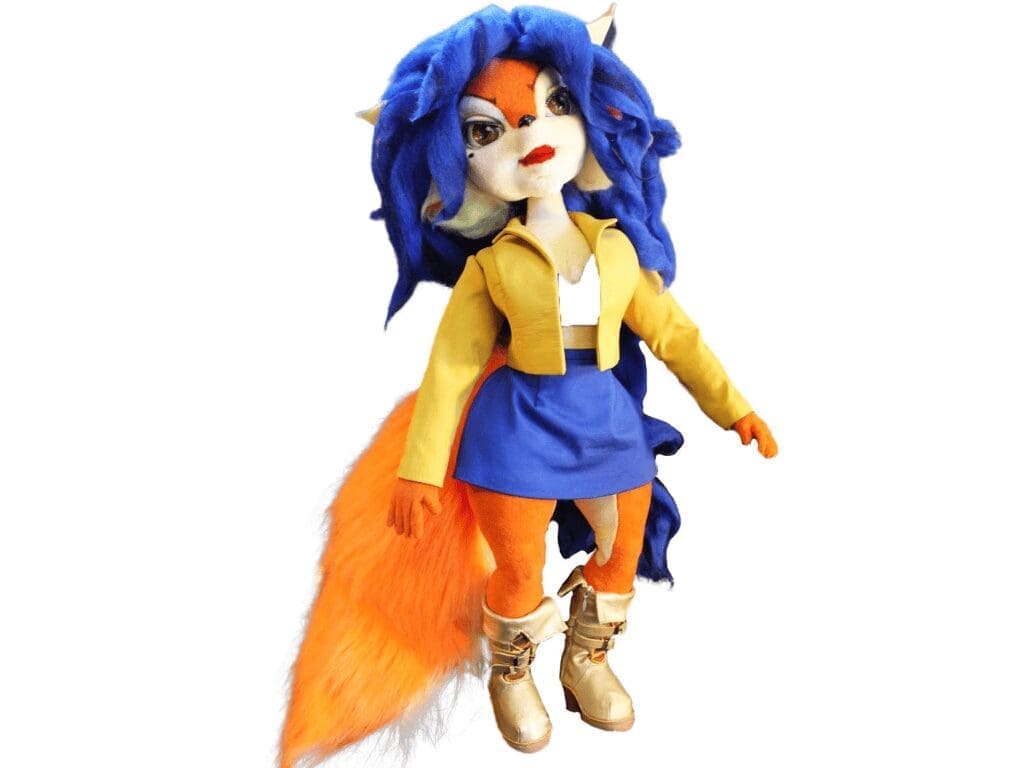
We meticulously craft toys from images, drawings, or prototypes. Just send us a picture, and we’ll bring to life a custom soft toy tailored to your exact specifications
More Toy Types Crafted by Us
A Wide Array of Designs and Functions