Creating custom stuffed animals is a labor of love, blending imagination with skillful craftsmanship. This guide provides an in-depth exploration of each step in this artistic process, ensuring clarity and inspiration for creators of all levels.
Step 1: Conceptualizing Your Design
📝 The journey of crafting a custom stuffed animal begins with a seed of imagination – the conceptualization of your design.
This initial step is crucial, as it lays the foundation for the unique character and charm of each creation. Here, we delve deep into the nuances of this process, ensuring every detail is considered to bring your vision to life.
")
Understanding the Vision: Listen to the client’s ideas or draw inspiration from personal experiences to conceptualize a unique design.
Sketching the Dream: Transfer your ideas onto paper, creating detailed sketches of the envisioned stuffed animal.
Understanding the Vision
- Client Collaboration: If you’re working with a client, engage in a detailed conversation to understand their desires and expectations. Ask about their preferred animal, colors, size, and any special features they envision.
- Personal Inspiration: For personal projects, draw from your experiences, favorite stories, or even a child’s drawing for inspiration. This adds a layer of personal connection to the toy.
Sketching the Dream
- Initial Drafts: Start with rough sketches. Don’t worry about perfection; focus on capturing the essence of your idea.
- Refinement: Gradually refine your sketches. Pay attention to proportions, expressions, and posture, which will significantly impact the toy’s character.
- Detailing: Add details like the type of eyes (buttons, embroidered, etc.), mouth, and any distinguishing features like patches, wings, or special patterns.
- Feedback Loop: If working with a client, present your sketches for feedback. This ensures the final product aligns with their expectations.
Translating Sketches to Patterns
- Pattern Making Skills: Learn basic pattern-making skills. This involves translating your 2D sketch into a series of shapes that, when sewn together, will form your 3D toy.
- Simplicity vs. Complexity: For beginners, start with simpler shapes and fewer pieces. As you gain confidence, experiment with more complex designs.
Material Considerations at Conceptual Stage
- Fabric Texture and Color: Imagine the texture and color of fabrics while sketching. Consider how different fabrics (like cotton, velvet, or faux fur) will affect the toy’s look and feel.
- Safety and Durability: If the toy is for young children, prioritize safety and durability in your design choices, opting for non-removable, securely attached features and child-safe materials.
Finalizing the Design
- Proportions and Scale: Ensure your design maintains consistent proportions. This is essential for both aesthetic appeal and ease of construction.
- Design Adaptability: Be prepared to adapt your design as you progress, especially when translating a sketch into a physical form. Flexibility can lead to creative discoveries!
Conceptualizing your design is a blend of creativity, technical skills, and attention to detail. It’s about envisioning a unique character that will come to life through fabric and thread, a process that requires both imagination and practical considerations to ensure the final stuffed animal is as delightful in reality as it is in your initial sketches.
Step 2: Choosing the Right Materials
✂️ When crafting custom stuffed animals, selecting the right materials is as crucial as the design itself.
This step is a delicate balance of aesthetics, functionality, and safety. Here, we explore the various aspects of material selection in detail, tailored especially for novices in the field.

- Fabric Selection: Opt for soft, durable fabrics like cotton, fleece, or plush for the main body.
- Stuffing Types: Use hypoallergenic polyester fiberfill for a soft, cuddly feel.
- Accentuating Features: Pick additional materials like felt for eyes or buttons for embellishments.
Fabric Selection: The Heart of Your Creation
- Softness and Texture: Choose fabrics that are soft to the touch and appealing to hold. Popular choices include fleece, plush (minky), and cotton.
- Durability: Ensure the fabric is durable and can withstand regular handling. High-quality cotton and polyester blends are good options.
- Ease of Sewing: For beginners, opt for fabrics that are easier to handle and sew, like medium-weight cotton or fleece.
- Safety: If the toy is intended for young children, use non-toxic, hypoallergenic fabrics that are safe for sensitive skin.
Stuffing: Giving Life to Your Toy
- Polyester Fiberfill: The most common stuffing material, it’s lightweight, washable, and hypoallergenic. Ideal for a soft and cuddly finish.
- Wool or Cotton Batting: A natural alternative, though more expensive and less resilient than polyester.
- Beans or Plastic Pellets: Used in addition to soft stuffing, these add weight and make the toy more poseable. Ensure they are enclosed in a separate fabric pouch for safety.
Eyes and Embellishments: The Windows to Personality
- Safety Eyes: These are secure and child-safe, ideal for toys meant for young children. They come in various sizes and colors.
- Embroidered Eyes: A safe and customizable option. You can create unique expressions through embroidery.
- Other Embellishments: Consider ribbons, buttons, or fabric patches. Ensure they are securely attached and appropriate for the toy’s intended audience.
Thread: Holding It All Together
- Quality: Use high-quality, durable thread to ensure the seams hold well over time.
- Color Matching: Choose a thread color that closely matches your fabric for a seamless look, or opt for a contrasting color for a decorative effect.
Additional Materials: Enhancing Your Creation
- Interfacing: Used to reinforce certain parts of the toy, like ears or wings, giving them more structure.
- Fabric Markers or Paints: For adding details or facial features. Choose non-toxic options if the toy is for children.
Final Thoughts on Material Selection
- Environmental Consideration: Where possible, choose sustainable and eco-friendly materials.
- Budgeting: Balance quality with cost. High-quality materials result in a better final product but can be more expensive.
- Sampling and Testing: Before committing to a particular material, test how it cuts, sews, and holds stuffing. This step can save time and resources in the long run.
Selecting the right materials is a thoughtful process that greatly influences the look, feel, and quality of the finished stuffed animal. For novices, it’s about finding the right balance between workability, safety, and aesthetics. Remember, each material you choose adds a unique dimension to your creation, making it one-of-a-kind.
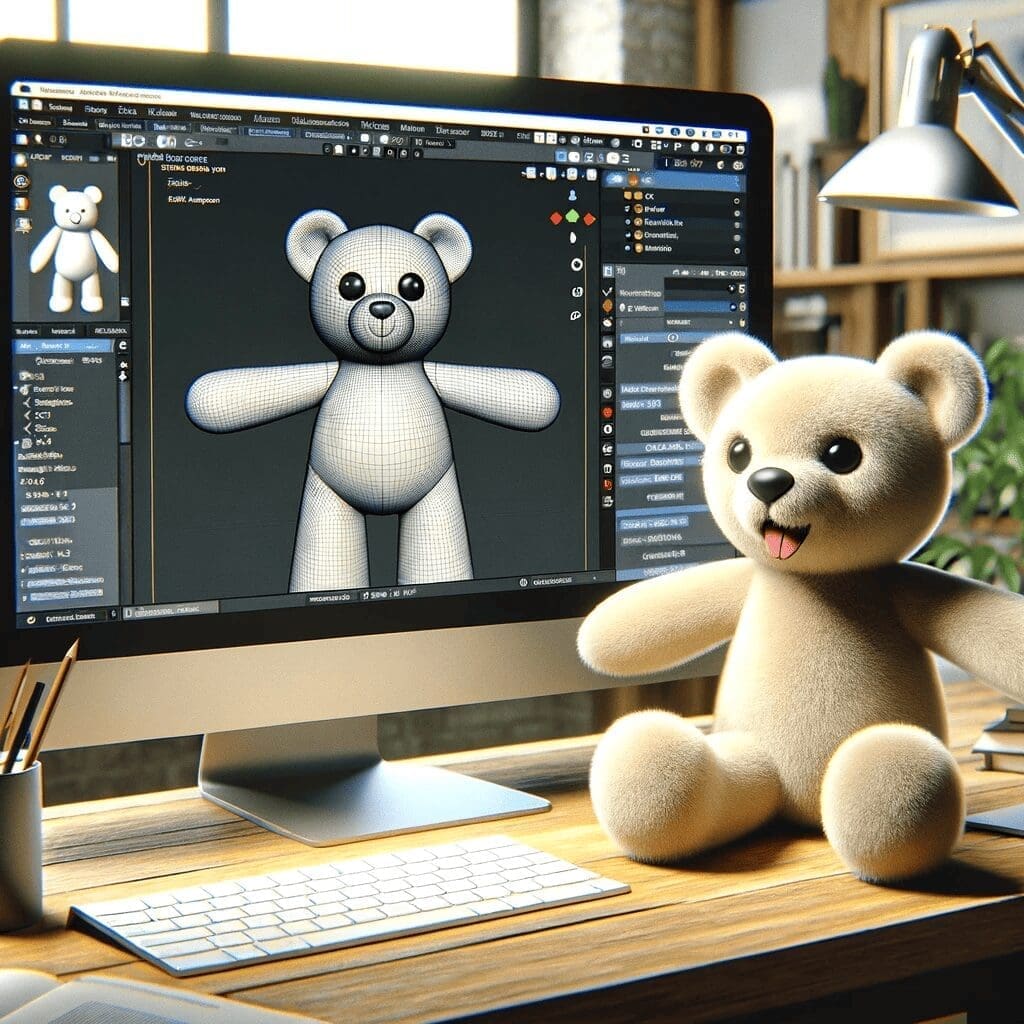
Step 3: Cutting and Sewing
🪡 The cutting and sewing process is where your custom stuffed animal starts to take physical shape.
This step requires precision, patience, and a bit of practice, especially for novices. Let’s break down this step into detailed, manageable parts.
")
- Pattern Creation: Translate your sketch into a sewing pattern, ensuring all parts are to scale.
- Precision Cutting: Carefully cut the fabric according to the pattern, maintaining accuracy for a professional finish.
- Skillful Sewing: Stitch the pieces together, leaving an opening for stuffing. Use a sewing machine for strong seams, switching to hand-sewing for intricate areas.
Preparing Your Pattern
- Transferring the Pattern: Use your finalized design to create a pattern. Trace it onto paper, ensuring all parts are included – body, limbs, ears, etc.
- Adding Seam Allowance: Include a seam allowance around each pattern piece. A standard allowance is about 1/4 inch (0.6 cm).
- Labeling: Clearly label each pattern piece with its name (e.g., “left leg,” “ear”) and mark the direction of the fabric’s grainline.
Choosing and Preparing Fabric
- Fabric Grain: Understand the fabric grain. Cutting pieces in the right direction ensures the final toy looks and functions as intended.
- Pre-Washing Fabric: If your fabric is likely to shrink, pre-wash it. This step prevents distortion after the toy is made and potentially washed.
Cutting the Fabric
- Laying Out Pattern Pieces: Arrange the pattern pieces on the fabric, considering the grain direction and maximizing fabric use.
- Securing the Pattern: Pin the pattern pieces securely to the fabric or use weights to keep them in place.
- Precision Cutting: Cut the fabric carefully along the pattern lines. Use sharp fabric scissors for clean edges.
Sewing Basics
- Machine vs. Hand Sewing: For beginners, a sewing machine can provide more consistent seams. However, hand sewing is useful for smaller or more intricate areas.
- Sewing Seams: Start sewing from one marked point to another, backstitching at the start and end to secure the seam.
- Consistent Seam Allowance: Keep a consistent seam allowance for a uniform look. Use the sewing machine’s guidelines to help.
Constructing the Toy
- Assembling in Order: Follow a logical order – sew individual parts first (like arms, legs), then attach them to the body.
- Clipping and Trimming Seams: Clip curves and trim corners of seams to ensure the toy shapes well when turned right side out.
- Turning and Ironing: Gently turn the sewn pieces right side out. Use a blunt tool to push out the corners. Iron the pieces for a neat finish, if suitable for the fabric.
Attaching the Pieces
- Positioning: Position limbs and other parts carefully before sewing them to the body.
- Securing with Pins: Use pins to hold parts in place while you sew.
- Strong Joints: For movable limbs, consider using doll joints or securely sewing them for fixed positions.
Final Touches Before Stuffing
- Inspecting Seams: Check all seams for any gaps or weaknesses. Reinforce if necessary.
- Leave an Opening: Remember to leave an opening for stuffing, usually in the body.
Cutting and sewing are the heart of creating your custom stuffed animal. For novices, each step is an opportunity to learn and improve. Remember, precision and patience are key – take your time with each cut and each stitch to ensure your toy is both beautiful and durable.
Step 4: Bringing Life to Your Creation
🧸 After the cutting and sewing, it’s time to bring your custom stuffed animal to life.
This step, often the most rewarding for creators, involves stuffing and adding final details that give character and personality to your creation. Here’s a detailed guide, especially for novices, to navigate this crucial phase.

- Stuffing with Care: Evenly distribute the stuffing, paying extra attention to limbs and head for a uniform feel.
- Final Touches: Sew the opening closed and add any final embellishments like eyes, nose, or accessories.
Stuffing Your Toy
- Choosing the Right Stuffing: Use a soft, resilient stuffing like polyester fiberfill for a cuddly finish. Natural options like wool or cotton can also be used but may be less resilient.
- Tools for Stuffing: Long tweezers or a stuffing stick can help in getting the stuffing into small or narrow parts.
- Technique: Start by stuffing smaller areas like ears, arms, and legs. Ensure the stuffing is evenly distributed, and the toy’s limbs and head have a consistent firmness.
- Avoid Overstuffing: Too much stuffing can make the toy hard and misshapen. Aim for a balance – enough to maintain shape but still soft to the touch.
Closing the Toy
- Ladder Stitch: Learn the ladder stitch (also known as the invisible stitch) to close the opening used for stuffing. This stitch makes the seam nearly invisible, giving a professional finish.
- Securing the Stitch: Double-check the closed seam to ensure it’s secure and won’t open with handling.
Adding Features and Details
- Facial Features: Embroider or attach the eyes, nose, and mouth. For a safer option, especially for toys for young children, embroidered features are recommended.
- Other Details: Add any additional features like whiskers, tails, or manes, ensuring they’re securely attached.
Personal Touches
- Accessorizing: Add accessories like bows, clothes, or hats to your toy. This can further personalize it and add to its charm.
- Custom Tags: Create a custom tag or label with the toy’s name, date of creation, or a special message. This adds a personal and professional touch.
Quality Check
- Inspection: Once your toy is stuffed and detailed, inspect it thoroughly. Look for any loose threads or parts that might need additional securing.
- Softness and Shape: Give it a gentle squeeze to check for any lumps or uneven stuffing.
Final Presentation
- Grooming: If your toy has fur, gently brush it to give a neat, finished look.
- Packaging: If the toy is a gift or for sale, consider a beautiful packaging that complements its charm.
Step 4 is where your stuffed animal truly becomes a one-of-a-kind creation, filled with character and love. For novices, this step is an opportunity to see your hard work culminate into something tangible and cherished. Remember, the key is in the details – the small touches that make your toy not just a product, but a bearer of joy and memories.
Step 5: Quality Check and Finishing
🔍 The final step in creating a custom stuffed animal is the quality check and finishing.
This phase is critical, as it ensures that the toy is not only visually appealing but also safe and durable. Here’s a detailed guide to help novices navigate this important step.
")
- Inspection for Excellence: Examine the stuffed animal for any loose threads or uneven stuffing.
- The Final Cut: Trim any excess threads and ensure all accessories are securely attached.
Quality Check
- Inspecting Seams: Carefully check all the seams to ensure they are securely stitched. Look for any gaps or loose threads that need to be re-sewn.
- Stuffing Consistency: Feel the toy all over for any uneven or lumpy areas in the stuffing. Gently adjust the stuffing from the inside if needed.
- Safety Inspection: If the toy is intended for children, especially young ones, ensure that all parts (eyes, nose, buttons, etc.) are securely attached and cannot be easily pulled off.
Finishing Touches
- Trimming Excess Threads: Use sharp scissors to trim any excess threads sticking out. This gives your toy a neat, professional look.
- Final Shaping: Gently shape the toy to give it the desired form. For example, fluffing the fur or smoothing out the limbs for an even appearance.
- Cleaning the Toy: Wipe the surface of the toy with a soft, slightly damp cloth to remove any dust or small fabric particles.
Adding a Maker’s Mark
- Label or Tag: Adding a custom label or tag with your name or brand can be a lovely touch. It also provides a sense of pride and ownership in your craftsmanship.
- Care Instructions: Include a small note or label with care instructions, such as washing guidelines, especially if the toy is meant as a gift or for sale.
Packaging and Presentation
- Attractive Packaging: If the toy is to be gifted or sold, consider how you present it. An attractive packaging can enhance the perceived value and make the unboxing experience special.
- Photographing Your Work: Take high-quality photographs of your finished toy. These can be used for your portfolio, social media, or for sale listings.
Reflecting on Your Work
- Self-Review: Take a moment to review your finished toy. Reflect on what you learned through the process and any improvements you could make next time.
- Gathering Feedback: If possible, get feedback from others, especially if the toy is a gift or for a client. This can provide valuable insights for future projects.
Continuous Improvement
- Skill Development: Each toy you create is an opportunity to hone your skills. Note any challenges you faced and consider how you might overcome them in future projects.
- Exploring New Techniques: As you grow more comfortable with the basics, experiment with new techniques, materials, and designs to continuously evolve your craft.
Step 5 is about ensuring that your creation meets a high standard of quality and finishing it with a sense of pride. For novices, this step is crucial in learning the finer points of craftsmanship and presenting your work in the best possible light. Remember, every toy you make is a reflection of your skill and passion, and the care you put into this final step can make all the difference.
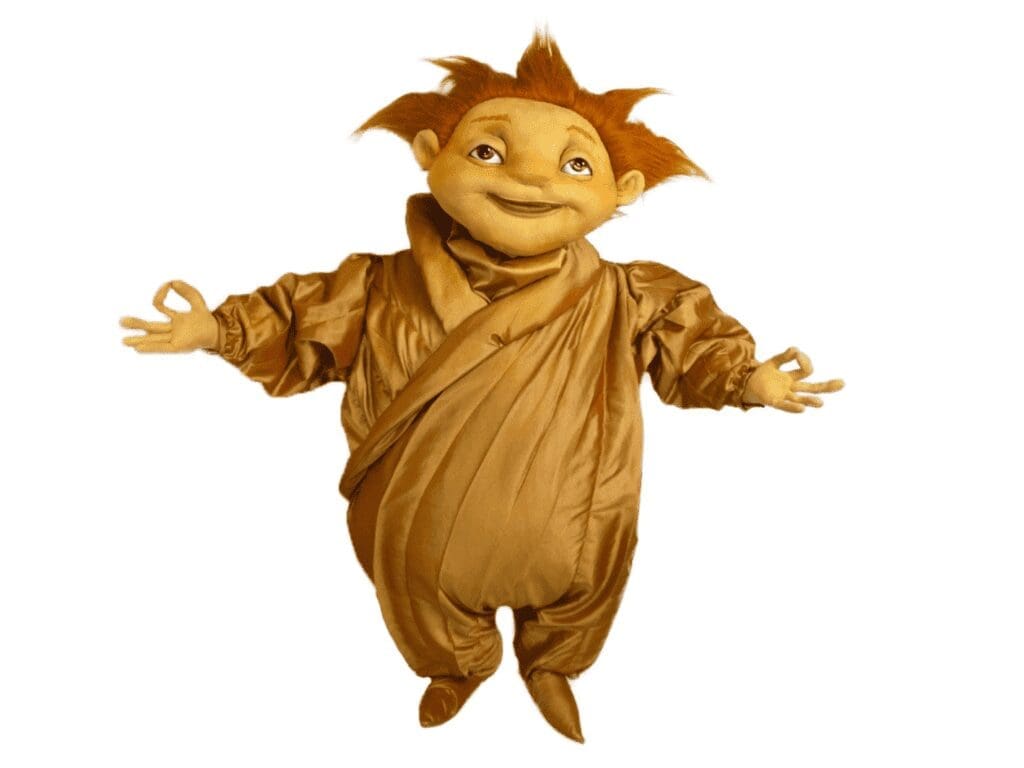
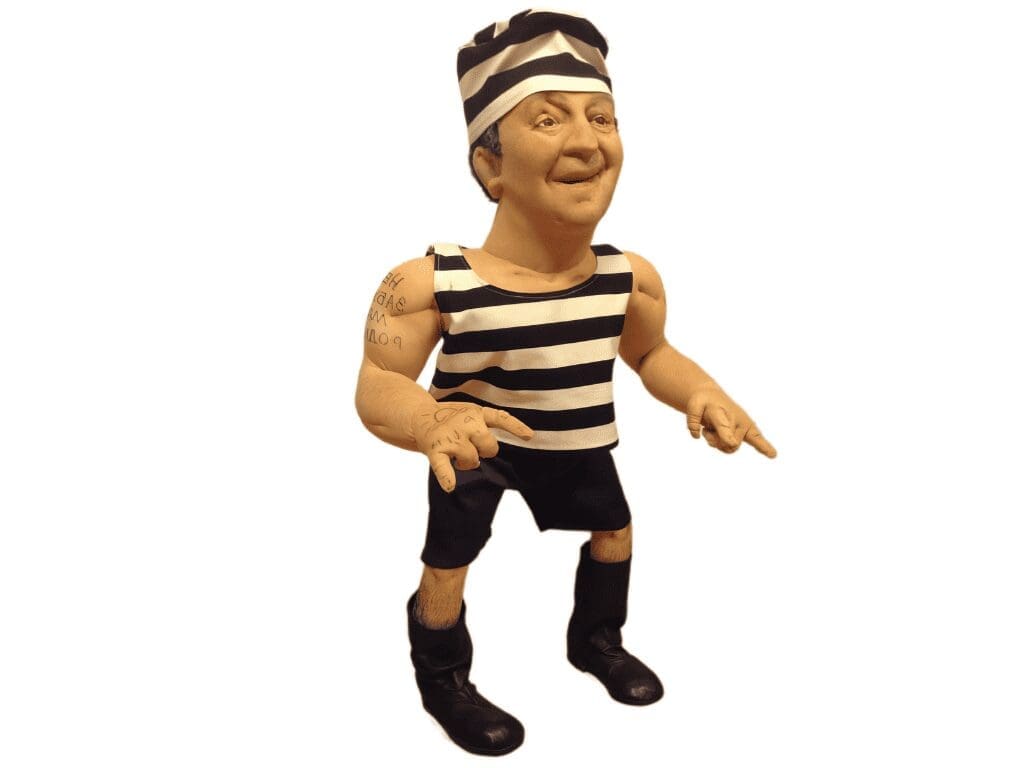
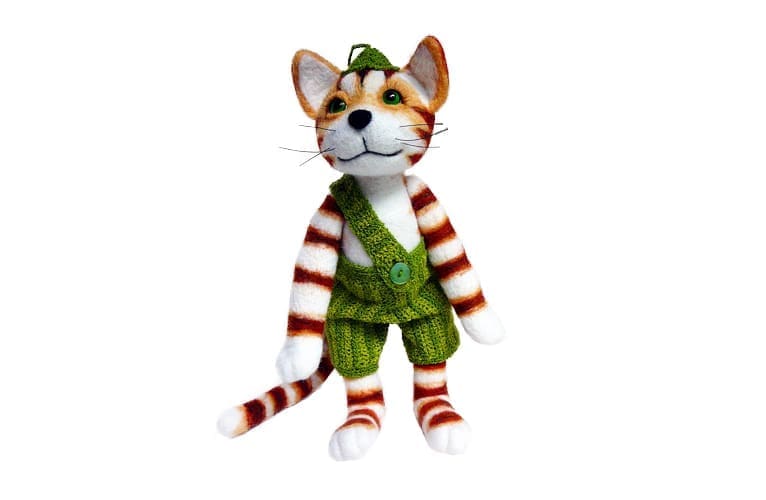
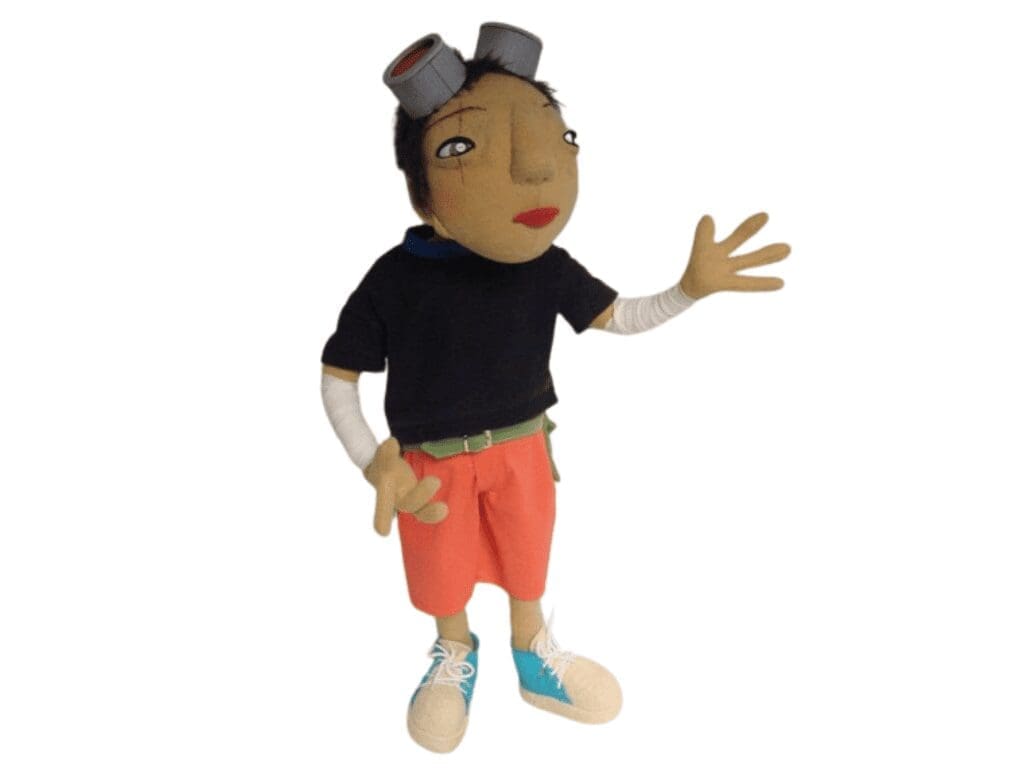
Step 6: Customization and Personalization
🎨 The final flourish in the creation of a custom stuffed animal is the customization and personalization.
This step transforms a well-crafted toy into a unique and meaningful keepsake. For novices, it’s an opportunity to express creativity and connect more deeply with the recipient of the toy. Here’s a detailed guide to make this process rewarding and enjoyable.
")
- Adding Character: Embroider names or special dates for a personal touch.
- Unique Embellishments: Consider adding thematic costumes or accessories based on the client’s request.
Understanding the Importance of Personalization
- Emotional Connection: Personalized details can turn a stuffed animal into a cherished memento, imbued with special meaning.
- Creative Expression: This step allows you to infuse your artistic vision and add a unique signature to your creation.
Adding Character
- Embroidered Names or Dates: Embroider the recipient’s name, birth date, or a special occasion date onto the toy. This is particularly poignant for gifts or commemorative items.
- Thematic Customization: Align the toy’s theme with the recipient’s interests or special occasions, such as creating a superhero outfit for a fan or festive attire for a holiday.
Unique Embellishments
- Accessories and Clothing: Design and create small accessories like hats, scarves, or outfits that reflect the toy’s personality or the recipient’s tastes.
- Special Features: Add unique features like a musical element, a special pocket, or a hidden message stitched inside.
Color Personalization
- Fabric Choices: Select fabric colors that resonate with the recipient, like their favorite color or colors that hold special significance.
- Decorative Elements: Use ribbons, buttons, or beads in specific colors to enhance the toy’s appearance and add a personal touch.
Interactive Elements
- Removable Parts: Consider adding elements like removable clothing or interchangeable accessories to encourage interaction and play.
- Educational Aspects: For children, incorporate elements that aid in learning, like textures for sensory play or elements that help in learning numbers or letters.
Quality and Safety in Personalization
- Durability of Additions: Ensure that all personalized elements are securely attached and can withstand handling, especially if the toy is for a child.
- Safety Considerations: Avoid small, detachable parts for toys intended for young children, and ensure all materials used are non-toxic and safe.
Presentation and Packaging
- Custom Packaging: Present the toy in custom packaging that complements its theme or the occasion it celebrates.
- Inclusion of a Story or Note: Include a handwritten note or a small story card that explains the toy’s concept, the inspiration behind it, or a personal message.
Reflecting on the Personalization Process
- Feedback and Revisions: If working with a client, share images of the personalized features for feedback and be open to making small revisions if needed.
- Documenting Your Work: Take photos of your personalized creations, as they can serve as inspiration for future projects or as part of your portfolio.
Step 6 is where you can truly set your work apart, making each stuffed animal not just a toy, but a narrative in itself. For novices, this step is a delightful exploration of creativity and emotional connection. Remember, the personal touches you add are what make your creations truly unique and treasured.
Weaving Unique Narratives in Every Stitch
The true success in crafting custom stuffed animals lies in their ability to tell a story – each one distinct, reflecting a narrative as unique and special as its creator and the person who will cherish it.
It’s not just about stitching fabric and filling it with fluff; it’s about weaving personal tales and heartfelt emotions into every seam and embellishment.
As you embark on this creative journey, remember that each stuffed animal you create isn’t just a toy, but a vessel of memories and dreams, a testament to the shared stories between its maker and its loving owner.

ABOUT THE AUTHOR
Hello! I’m Eliza Grace, a dedicated toy designer with over 5 years of experience in the industry. My passion lies in designing toys that captivate and inspire. Through this blog, I aim to share my knowledge and enthusiasm, helping others explore the wonderful world of toy design.
TAGS
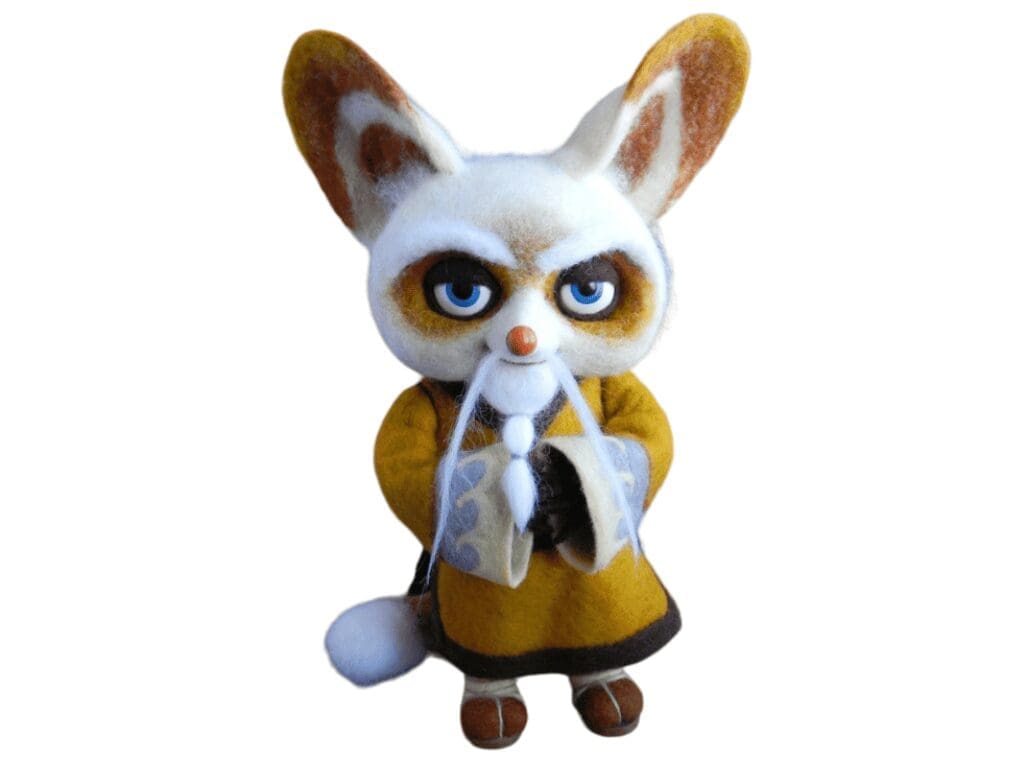
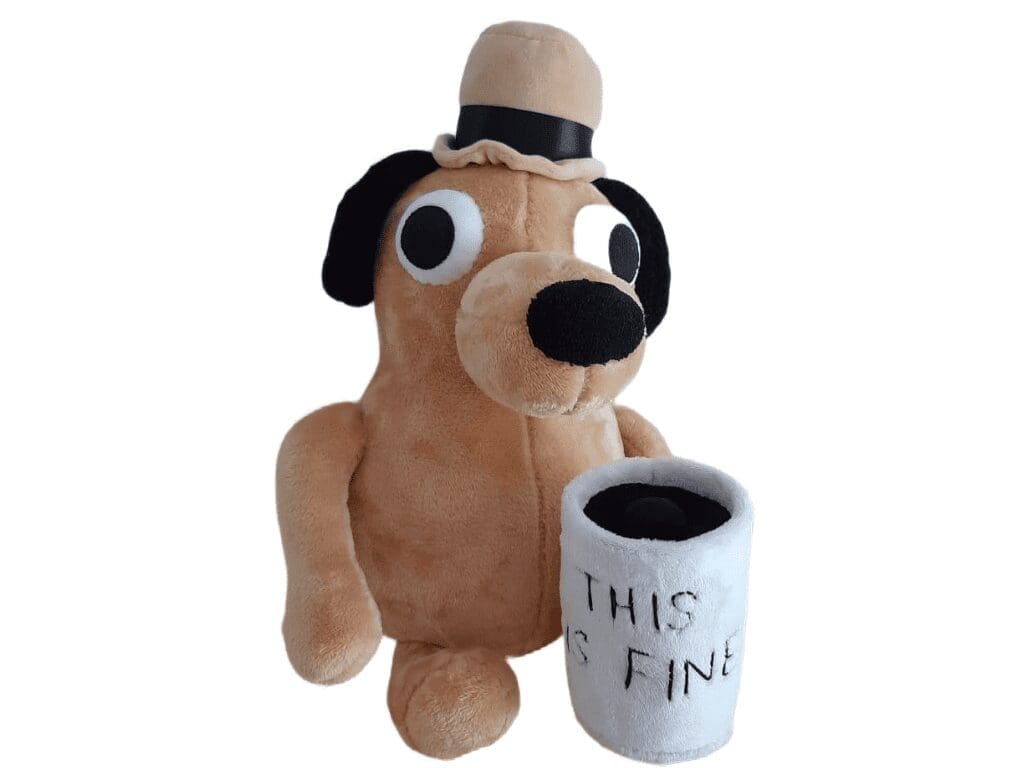
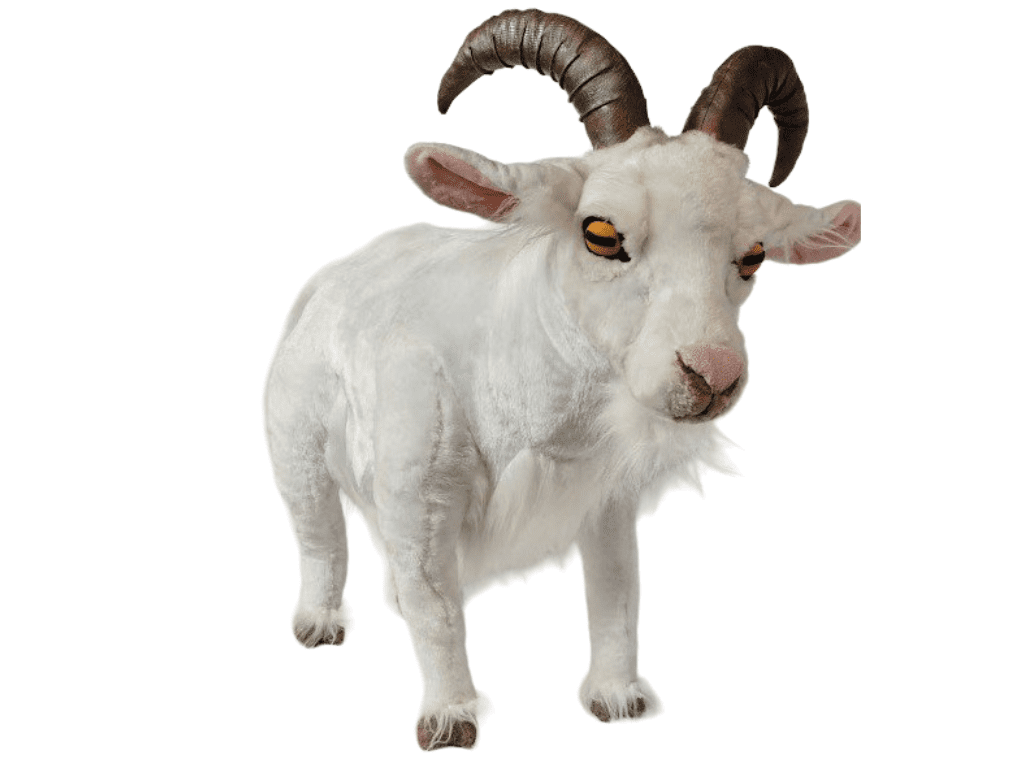
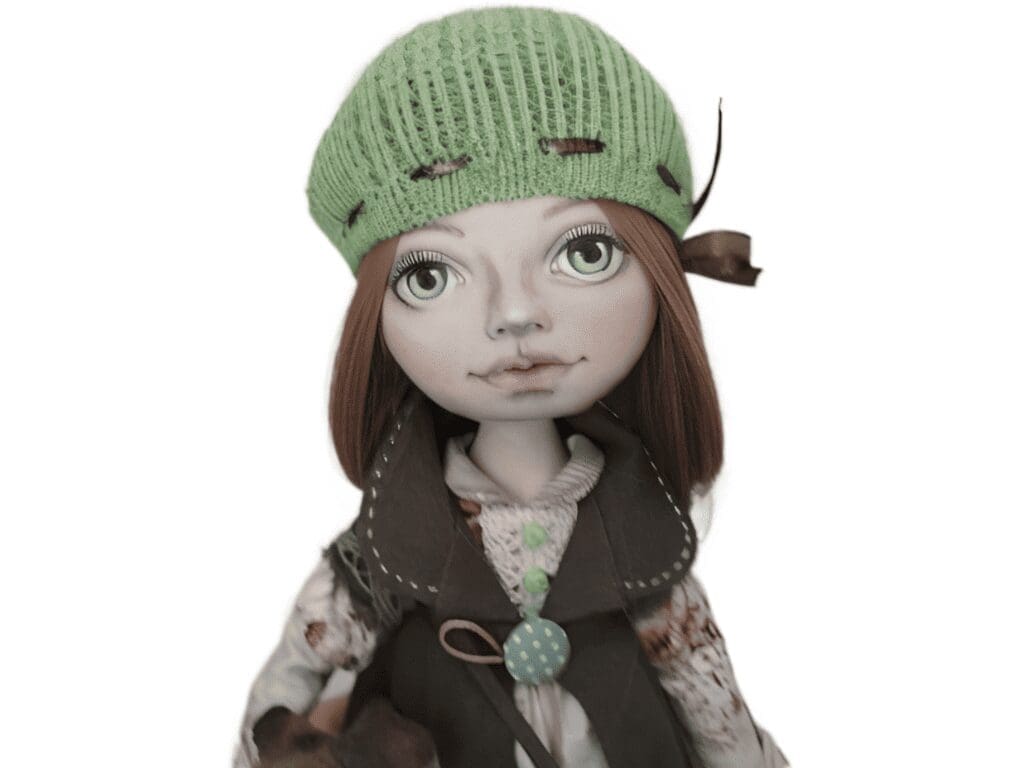
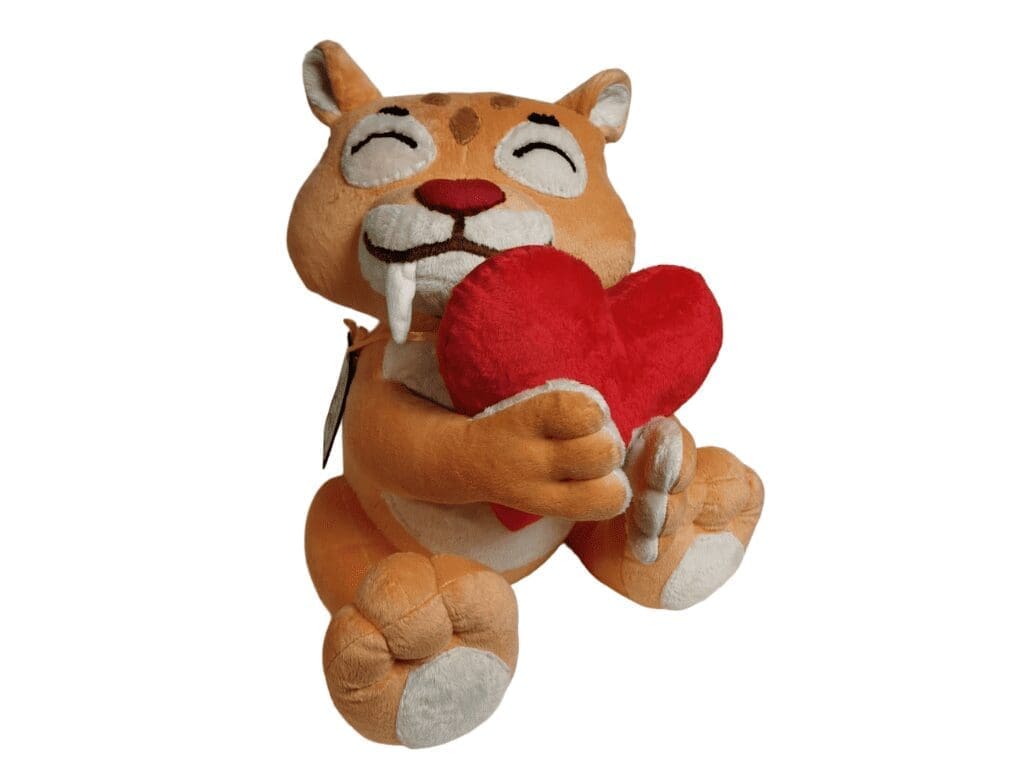
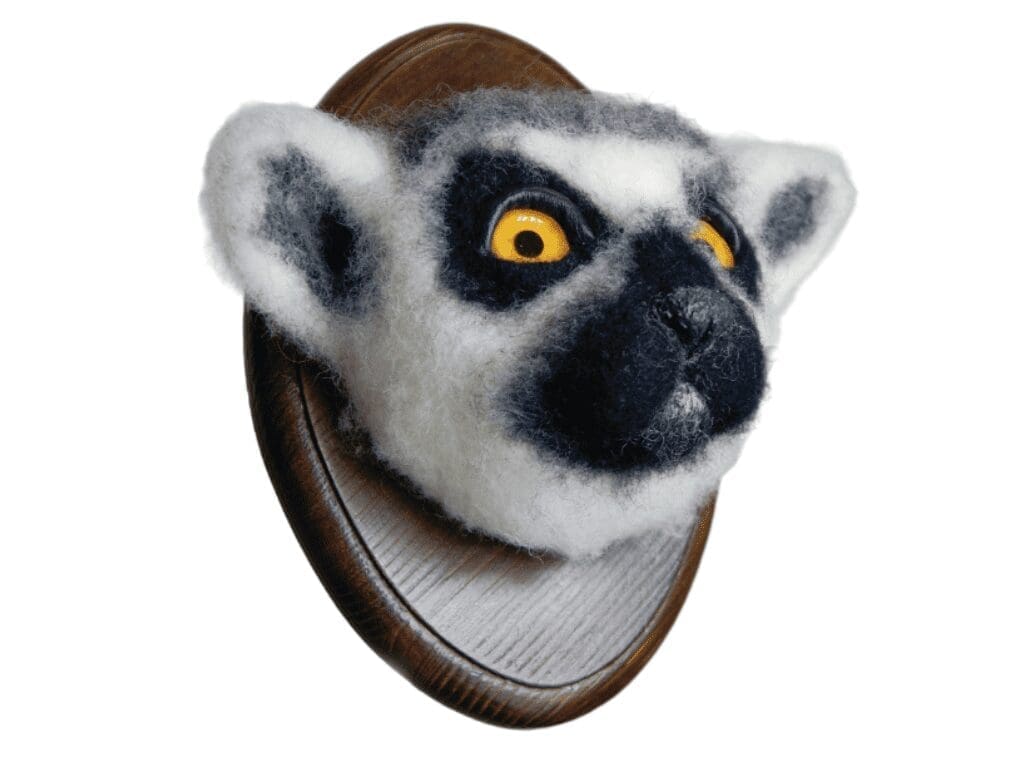
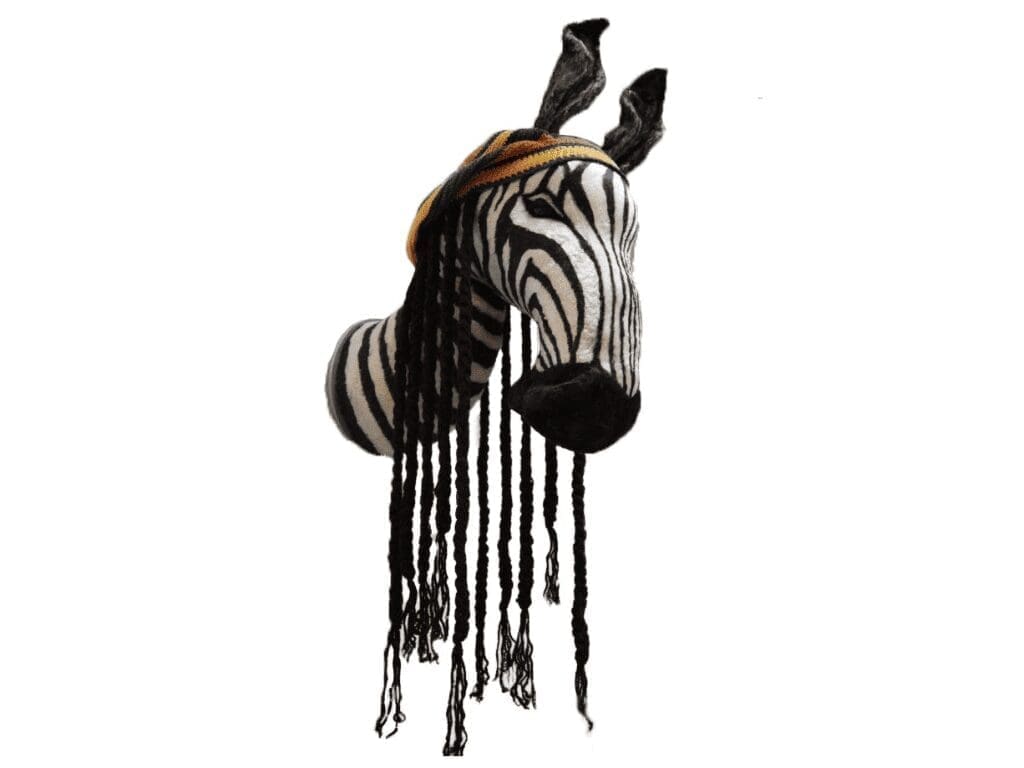
YOU MAY ALSO LIKE

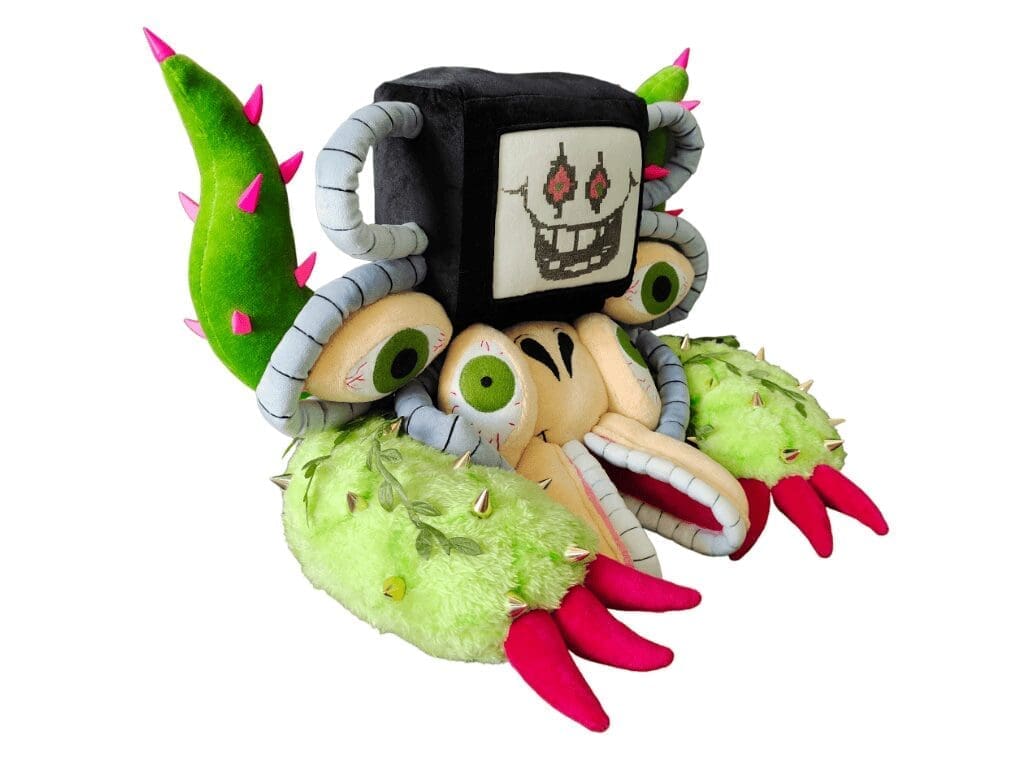
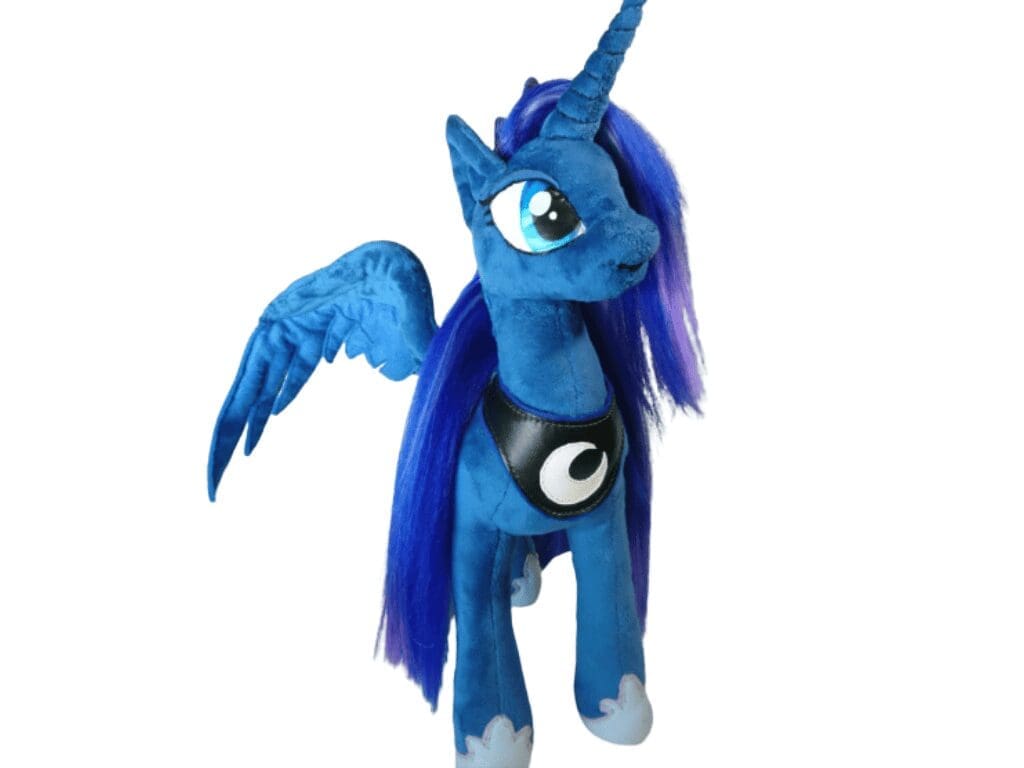
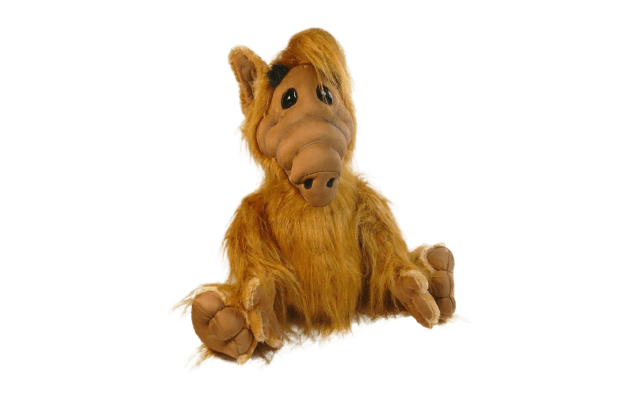
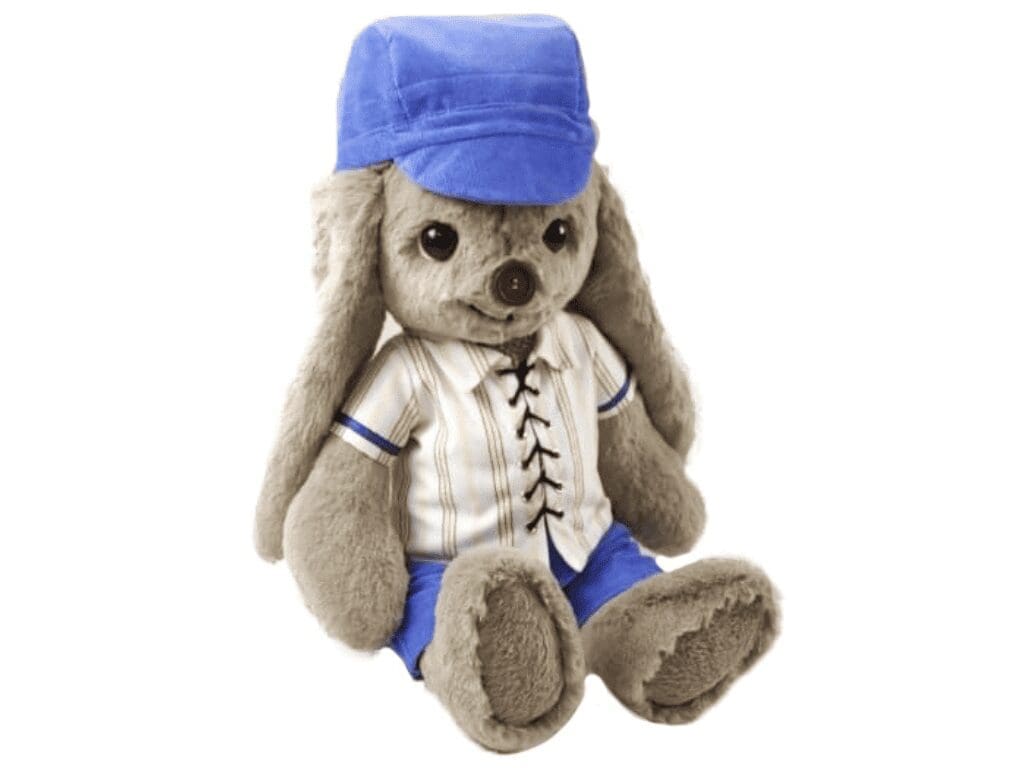
We meticulously craft toys from images, drawings, or prototypes. Just send us a picture, and we’ll bring to life a custom soft toy tailored to your exact specifications
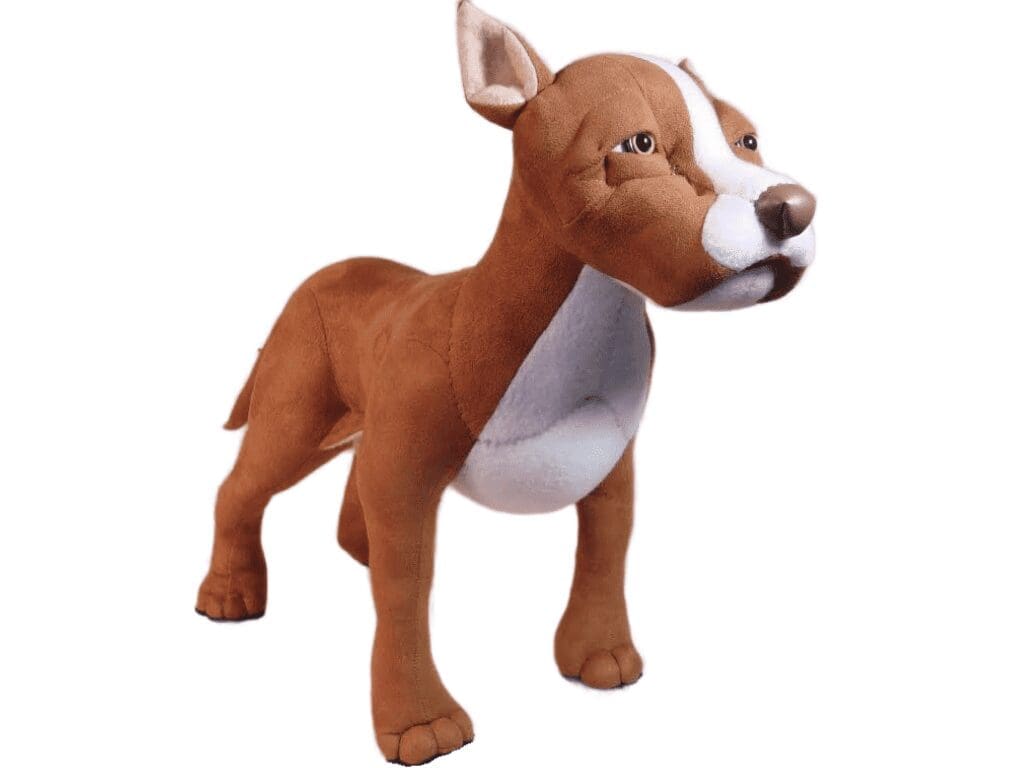
More Toy Types Crafted by Us